
Law
Resources for Legal Research
How to use PowerNotes for the legal research process
May 7, 2025
Insights on AI in education, research workflows, and how PowerNotes helps students and educators work smarter.
How to use PowerNotes for the legal research process
Generative AI is the cheapest, easiest way to cheat ever invented, and the vast majority of students are using it. In a recent survey of 1,000 college-age students, more than 89 percent of respondents said that ChatGPT has helped them complete a homework assignment. What can schools and universities do?
The processes of reading, research and writing are complex and intertwined. Currently, the larger educational technology landscape requires using multiple tools to do these processes. Being able to pull them into a single tool can allow learners to focus on learning and streamlining processes.
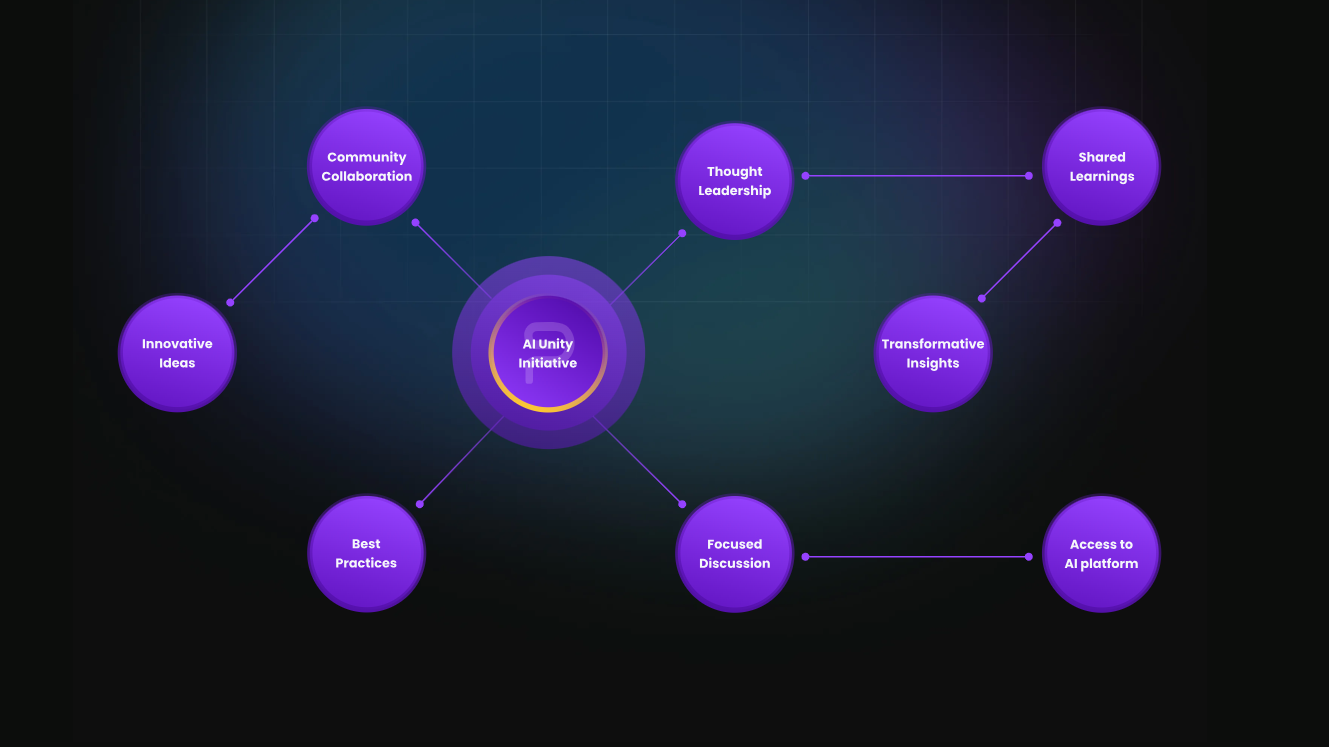
A short summary of the PowerNotes AI Unity Initiative as reported on by Aaron Gifford of GovTech.
In this interview, Wilson Tsu, founder of PowerNotes, shares his journey and discusses how PowerNotes is transforming academic research and writing.
Learn about the AI Unity Initiative and how it serves as a collaborative platform for teachers to explore, experiment, and understand AI's applications in teaching.
In this podcast Wilson Tsu, founder of PowerNotes, dives deep with Larry Jacobs of Education Talk Radio into the transformative role of AI in education in the K12 space.
In this webinar, our panel of experts dove into the world of AI in education, shedding light on its potential for students today and in the future.
In the first article in this series, we discussed what AI is and how it works generally. In part two, we discussed how PowerNotes helps teachers and students realize the opportunity that AI provides to enhance teaching and learning. In this article, we'll cover how PowerNotes mitigates the dangers of AI.
The educational opportunity in AI is to help students realize these benefits without outsourcing their thinking and learning to a machine. PowerNotes' platform can help students and educators achieve these goals by improving the student learning process with AI as an learning aide, not a learning replacement.
In this interview on the show floor at ISTE 2023 in Philly, PowerNotes founder Wilson Tsu expands on how PowerNotes integrates reading, research, and writing, using AI to aid in student organization and synthesis. It dives into how we're providing educators visibility into the learning process, maximizing the benefits of AI while minimizing drawbacks, including cheating.
Technological advancements in AI have ushered in a new era of tools like ChatGPT, opening doors to creative applications and efficiency, but with this progress comes inherent risks such as misinformation and educational misuse, necessitating thoughtful human oversight. The first of a 3 part series.
In this episode of Innovations in Education, Wilson Tsu, founder of PowerNotes, talks about how AI is being baked into PowerNotes and other platforms to transform the ways students perform research—and how the rise of AI has re-invented the role of libraries and librarians.
Welcome to a research revolution with Discovery and Brainstorm, PowerNotes' new AI tools designed to optimize information gathering and synthesis. Discover what makes these game-changing features here.
With the release of ChatGPT, the educational landscape has changed. All of the students I've spoken to are using it. Industry is integrating it into their workflows. It isn't going anywhere and it's only going to get better and more ubiquitous. This article is the summation of all of my thoughts on AI and it's potential role in the future of education.
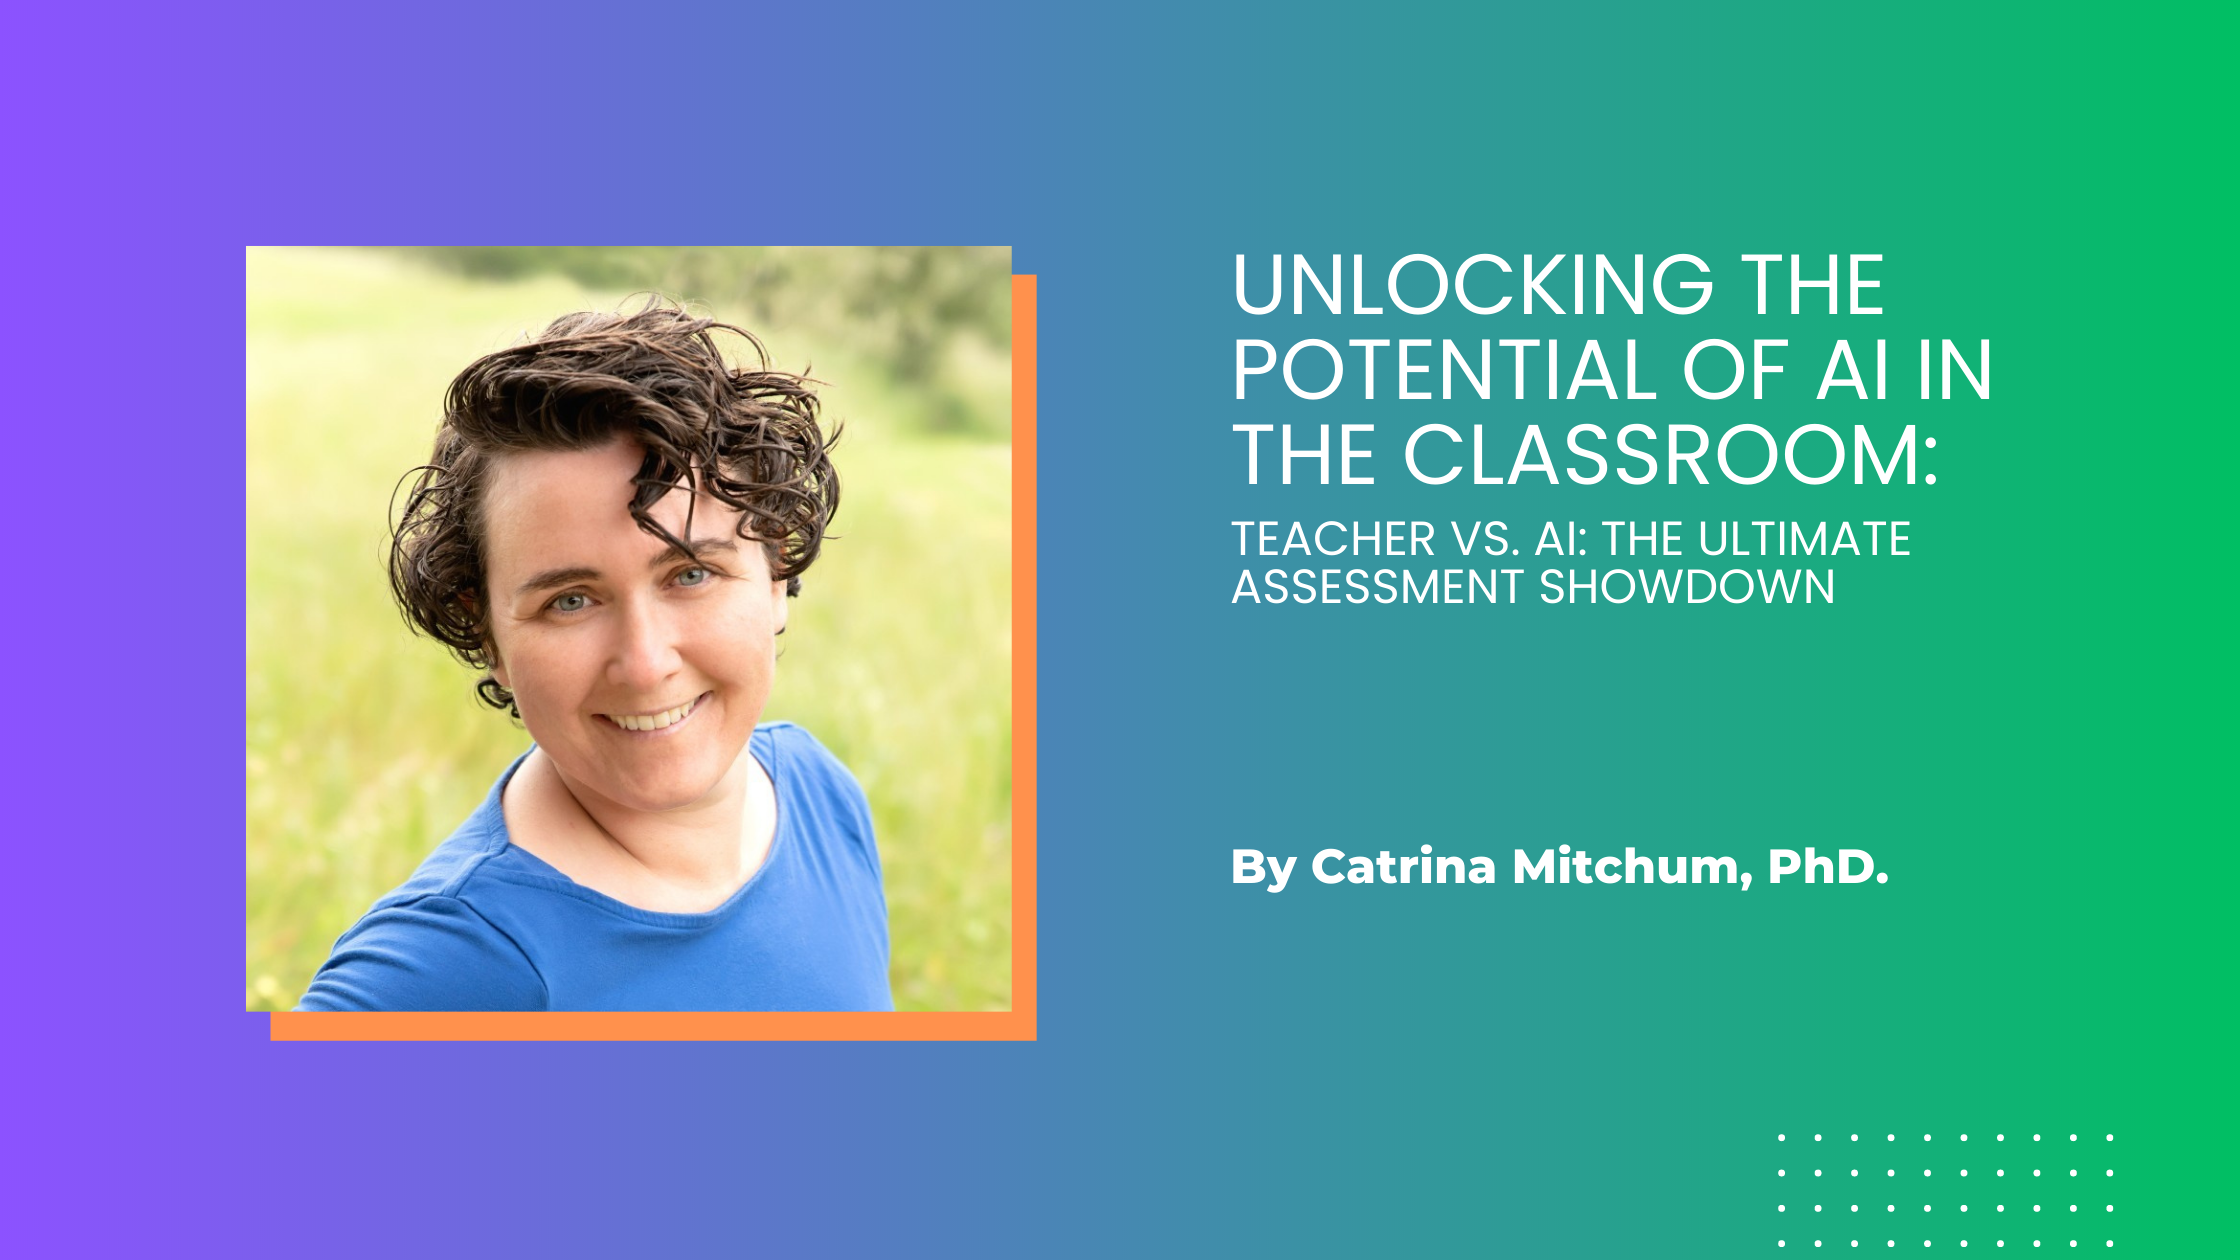
I'll walk you through how I used an AI writing tool to generate feedback and a score for 4 assignments for some of my online students.
I'll walk you through how I used an AI writing tool to help me create a template for responding to my online students.
I'll walk you through how I used an AI writing tool to help me revise an assignment instruction sheet with a specific focus on the issues students had with the project.
I walk through how I used an AI writing tool to help me generate an assignment sheet, rubric, and scaffolding activities.
PowerNotes product manager Brett Peterson was recently interviewed by John Nash and Jason Johnston, creators of the Online Learning in the Second Half Podcast. The podcast focuses on companies and individuals who are helping to drive innovation in the online learning space.
PowerNotes Founder and CEO Wilson Tsu sits down for a webinar panel with Catrina Mitchum, Associate Adjunct Professor to discuss AI's place in education
Written for teachers by teachers, this first entry in our educator's guide series focuses on the potential of AI and a few ways it can be implemented into the modern classroom.
A peek into the proof-of-work methodology as well as why "AI detectors" are not the answer in the face of rapidly-changing AI.
We explore the early policies being developed around AI in academia. Most policies prioritize responsible and ethical use of AI, such as clear attribution and citation requirements, while some universities focus on detection and punishment of policy violations.
A deep dive into the burgeoning topic of AI in academia and how teachers and institutions can equip themselves to succeed in the years to come.
View and register for upcoming summer GALILEO webinars.
If you're a member of a partner institution, you have access to a free or discounted account!
A running list of notable product updates.
Check out these PowerNotes LibGuides that universities have put together for their students.
Check here to see when the next PowerNotes training session will be held.
Schedule a live demo and ask questions about how PowerNotes can help you teach (and your students learn) reading, research, and writing.
Over 64,000 researchers use PowerNotes to gather, organize, and manage research and note-taking. See what they're saying about their experience.
Refer another institution to PowerNotes and receive a credit your next billing cycle.
A calendar of optimal dates and events for contacting students about PowerNotes.
We're delighted to announce that we've partnered with OpenStax - it's their mission to improve educational access and learning for everyone.
Unlike tools built specifically for reference management, PowerNotes facilitates the entire research process from collecting content to first-draft prep.
In addition to gathering URLs and source links for all your sources, PowerNotes also captures citation information and generates formatted citations.
Inspiration for weaving PowerNotes into newsletters and blog posts.
How we're working to improve writing quality by providing an efficient and continuous workflow through the research and writing process.
PowerNotes enables researchers to do so much more than just save text passages - learn more.
Learn how to efficiently use all of PowerNotes' features for a seamless research and writing experience.
Whether you want to add a thought, jot down a great topic sentence, or incorporate a non-digital source, you can now do so with Freeform Notes.
Researching with PowerNotes is easy, just follow these 5 steps.
Create your own organizational structure for in-class notes and pull in content from syllabus attachments, links, and anything else you find online.
When you're working with a PDF, PowerNotes can automatically detect if the PDF is not compatible with our tools.
With a few drags and clicks, you can prepare your research to be paper-ready.
Learn how to get the most out of PowerNotes with these helpful tips.
We've studied student habits and developed our products to streamline the most cumbersome and frustrating aspects of the process.
A deep dive into the differences between PowerNotes and annotation tools Hypothosis and Perusall.
In this product comparison, you'll learn more about how PowerNotes stacks up against popular content-grabbing tools.
Use these print and digital promotional students to put PowerNotes in front of students.
A look at how Boston University Law signed up 33% of their students in 2 months - including almost the entire 1L class!
Help students to understand the meaning of an article by showing where to look for key insights that control the sequence of evidence analysis.
Leverage Project Outlines for a number of instructional opportunities.
A quick guide on how to roll PowerNotes out to your students in the classroom.
These can be used to notify and grow student user of PowerNotes at your institution.
Whether pressed for time, unsure of the process, or lacking confidence in ability, many students procrastinate, plagiarize, or have someone else write their paper.
PowerNotes employs a patent-pending process called Progressive Organization to build organization directly into the fabric of inquiry and research processes.
A list of ideas and copy for posting about PowerNotes on social media channels.
Peer recommendation is one of the best ways to grow adoption. Here are some ideas on how to leverage student influence.
One of the most effective means of getting adoption with up to 40% of viewers adopting.
Learn more about accessibility features, compliances, and what we're doing to improve everyone's experience.
ASU has partnered with PowerNotes to give their members free Premium access.
PowerNotes has built an early feedback feature which allows students to share research with instructors and peers to be reviewed and corrected early.
This write-up explores PowerNotes' approach to remedying the issues native to the digital research and writing processes for students.
With the PowerNotes Share + Collaboration, you can share research at any stage with instructor and peers for review.
The 1L brief can cause a lot of stress. Whether you're playing the role of a public defender, prosecutor, civil rights attorney, or something else entirely, we have you covered.
A collection of guides on the benefits of integrating PowerNotes into the research and writing processes.
Watch this recorded session to see how PowerNotes is providing a better framework.
Various PowerNotes logos that can be included in PowerNotes promotion.
PowerNotes is participating in an initiative through the ABA to provide legal non-profits with free access.
How the Drexel University writing center is using PowerNotes to enable better research and writing outcomes.
An exploration of the specific features PowerNotes has built for legal research.
A Summery of how to use the PowerNotes extension for academic research (French).
An exercise to get students thinking about source analysis.
This lesson plan integrates PowerNotes into the critical source-analysis process while demonstrating how students can tackle group work with PowerNotes.
Integrating BEAM strategy into the PowerNotes research framework.
An exercise about looking deeper into the structures of sentences, and how those structures work in creating both meaning and affect.
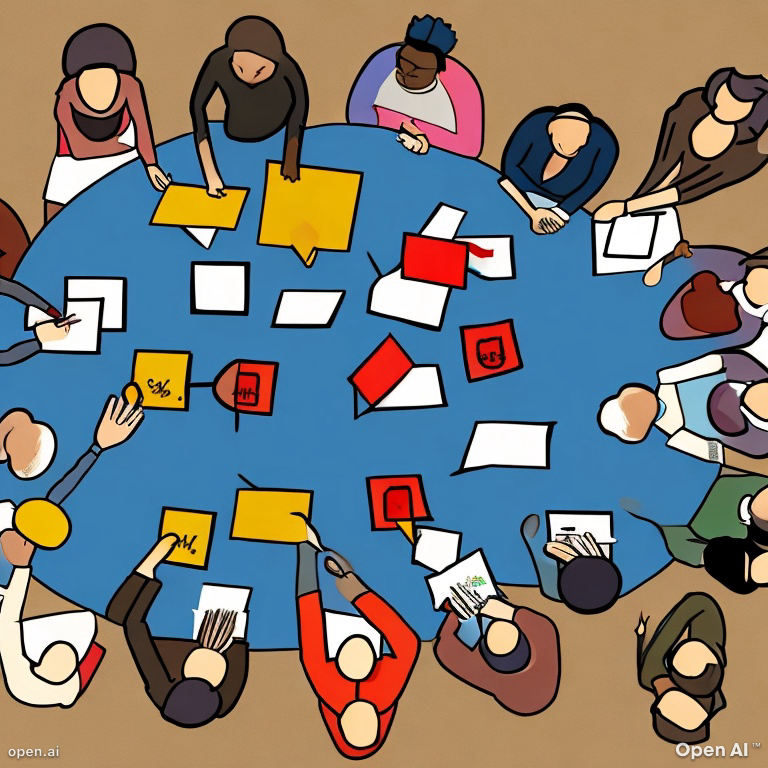
![[OP-ED] TheHill: AI cheating is destroying higher education; here's how to fight it](/assets/blog/660ef6ad18c89381c71a6ee5_GettyImages-1246494152.jpg)
![[CASE STUDY] There and back again: Implementing and assessing a digital reading, research and writing application](/assets/blog/65cceaa7a65b093fee00d596_shutterstock_525008128.jpg)

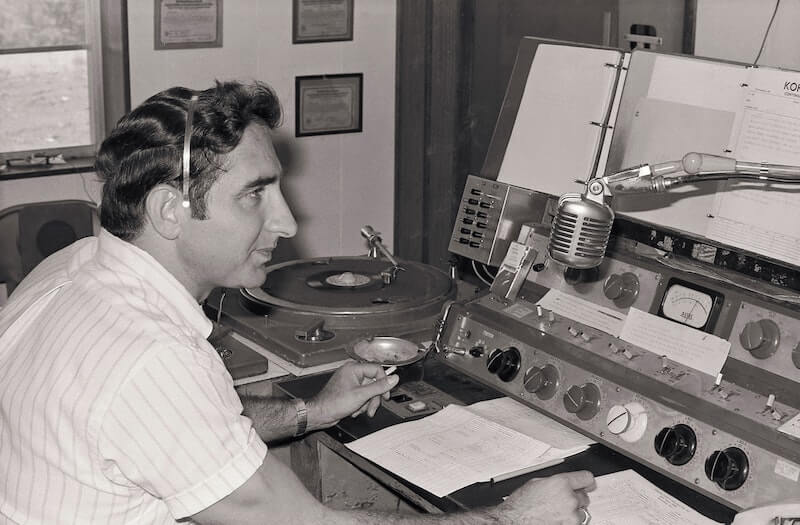
![[PODCAST] Listen or Read: The Ethics of AI in K12](/assets/blog/652eef8de5901ca673a08e9c_256.png)
![[WEBINAR] Into the Weeds: An Educators' Roundtable on AI](/assets/blog/651da824f21712f980c2cb94_thumbnail.png)


![[PODCAST] Listen or Read: EduTechGuys Interview with Wilson Tsu on PowerNotes & AI](/assets/blog/64e524eb3244319da127cbda_edtechguys.png)

![[PODCAST] Listen or Read: The New Rules for Library Research (AI)](/assets/blog/64c0175a7f66a94b2d15a59d_pexels-mathias-reding-4397200.jpg)


![[PODCAST] How are EdTech Vendors Humanizing Online Education?](/assets/blog/64595d35b32c234a9d1418f1_1681934750631.jpeg)
![[WEBINAR] Innovation in Learning: The Revolutionary Impact of AI on Education](/assets/blog/645017e6357e218e41ef88ff_Screenshot_2023-05-01_144944.png)